This page contains all the information you need to ensure your vinyl record centre label artwork is supplied in the correct format and to the required specifications. If you are submitting your own designs, they must follow the guidelines below. We cannot print artwork that does not meet these specifications, so it is essential that you or whoever is designing your labels follows the instructions carefully.
These specifications are mandatory, with no exceptions. Artwork that does not meet the requirements cannot be printed, regardless of whether you believe it will be fine. Submitting incorrect artwork only leads to additional work, unnecessary delays and the need to make corrections before we can proceed.
Please also be aware that creating suitable label artwork requires a basic understanding of graphic design and access to appropriate design software. Basic online design tools may not provide the necessary options or output quality to meet our requirements.
We also need to address the use of AI-generated artwork. AI-generated label designs are not suitable for our printing process and will not be accepted. They frequently fail to meet the required specifications, including resolution, colour settings and bleed. They can also introduce unwanted elements, such as a hole in the centre of the design, which is not required in the artwork file. We explain this in more detail further down the page.
If you are using a designer, please ensure they read and follow these guidelines before submitting any artwork. They may have experience designing labels for other pressing plants or printing services, but our specifications are specific to our own production process. Previous templates and layouts may not be suitable, so please do not assume that artwork prepared for another supplier will meet our requirements.
These guidelines are not intended to make the process more difficult. They are designed to ensure your labels print correctly and achieve the best possible results. Following them from the outset helps us avoid artwork being rejected, repeated corrections and unnecessary delays to your order.
We spend a considerable amount of time each month dealing with artwork that does not meet the required specifications. Please take the time to read and follow the information below carefully. Doing so will help us get your order completed as smoothly and efficiently as possible.
Document Settings
First, make sure your artwork file is set up correctly. It is essential that you check all the settings below before submitting your designs, as files that do not meet these specifications cannot be accepted.
- Resolution: 300 DPI
- Colour mode: CMYK
- File format: PDF or PSD. When exporting your PDF, ensure that compression and downsampling are disabled.
- Layers: All design layers must be merged before submission.
- File names: Please name your files clearly as “A Side” and “AA Side” so we can identify which side of the record each design belongs to.
Design Size
Your artwork must be designed on a circular canvas and exported without a background behind the design. When exporting as a PDF, this may result in a plain white background layer, which is perfectly fine.
Your design circle must be at least 76 mm in diameter. This is the size of our centre labels, and supplying artwork at the correct size helps ensure the best possible print quality.
If your design is smaller than 76 mm, it may become pixelated when printed and will be rejected.
Larger designs are absolutely fine. We can scale them down to fit our labels without any issues, provided the artwork meets all the other specifications.
Design Specifications
This is one of the most important sections of the guide, so we’ll break it down into simple steps to make sure everything is clear. First, let’s cover an issue that causes problems time and time again. Before we start lets just point out that all images and text layouts in this guide are purely for example use and you don’t have to use the same images of a chicken and you do not have to put your text in the same place we do its purely just to show an idea of where you need to be.
The Centre Hole
Do not add a centre hole to your artwork. This means no small circle, cross, marker or any other indication of where the hole should be.
We already know that your record labels need a hole in the centre, so there is no need to include one in your design. We will not accidentally produce labels without a centre hole if you leave it out of your artwork!
However, you must ensure that your background image covers the entire centre of the design. This allows for cutting tolerances and ensures there are no unwanted gaps if the cut is slightly off-centre.
Bleed Areas and Cutting Lines
Printing involves mechanical processes that move materials through the equipment, so small movements and variations during production are unavoidable. Your artwork needs to account for these cutting tolerances.
The cutting line will fall somewhere between the outer edge of your design and 3 mm inside that edge. It will not necessarily be exactly 3 mm in from the edge, as the precise cutting position can vary.
This is why your background image must cover the entire design area, right up to the outer edge of the circle. If your background stops short of the edge, even slightly, variations in the cutting position could leave unwanted white edges around your label.
To summarise, create a circle that is exactly 76 mm in diameter and ensure your background image completely covers the entire circle.
Do not place your background image inside the circle with a 3 mm border around the outside. The entire circle must be covered by your background image to allow for variations in the cutting position.
Please refer to the examples below to see the difference between correctly and incorrectly prepared artwork.

The image above shows a correctly formatted label background, before any text or other design elements have been added.
The label is a 76 mm circle with no centre hole or markers. The background image covers the entire circle, right up to the outer edge, with no additional border or block of colour added around it to indicate the cutting area. The area outside the circle is pure white.

The image above shows an incorrectly formatted label design. The centre hole has been added to the artwork, a black border has been left around the background image instead of extending it to the edge of the 76 mm circle, and the area outside the circle has been filled with yellow instead of being pure white.
This artwork would be rejected for printing.
Adding Text to Your Label
Now that your background is correctly formatted, we can move on to adding text and other design elements.
When positioning your text, you need to allow for the cutting tolerances around the outer edge of the label and the centre hole.
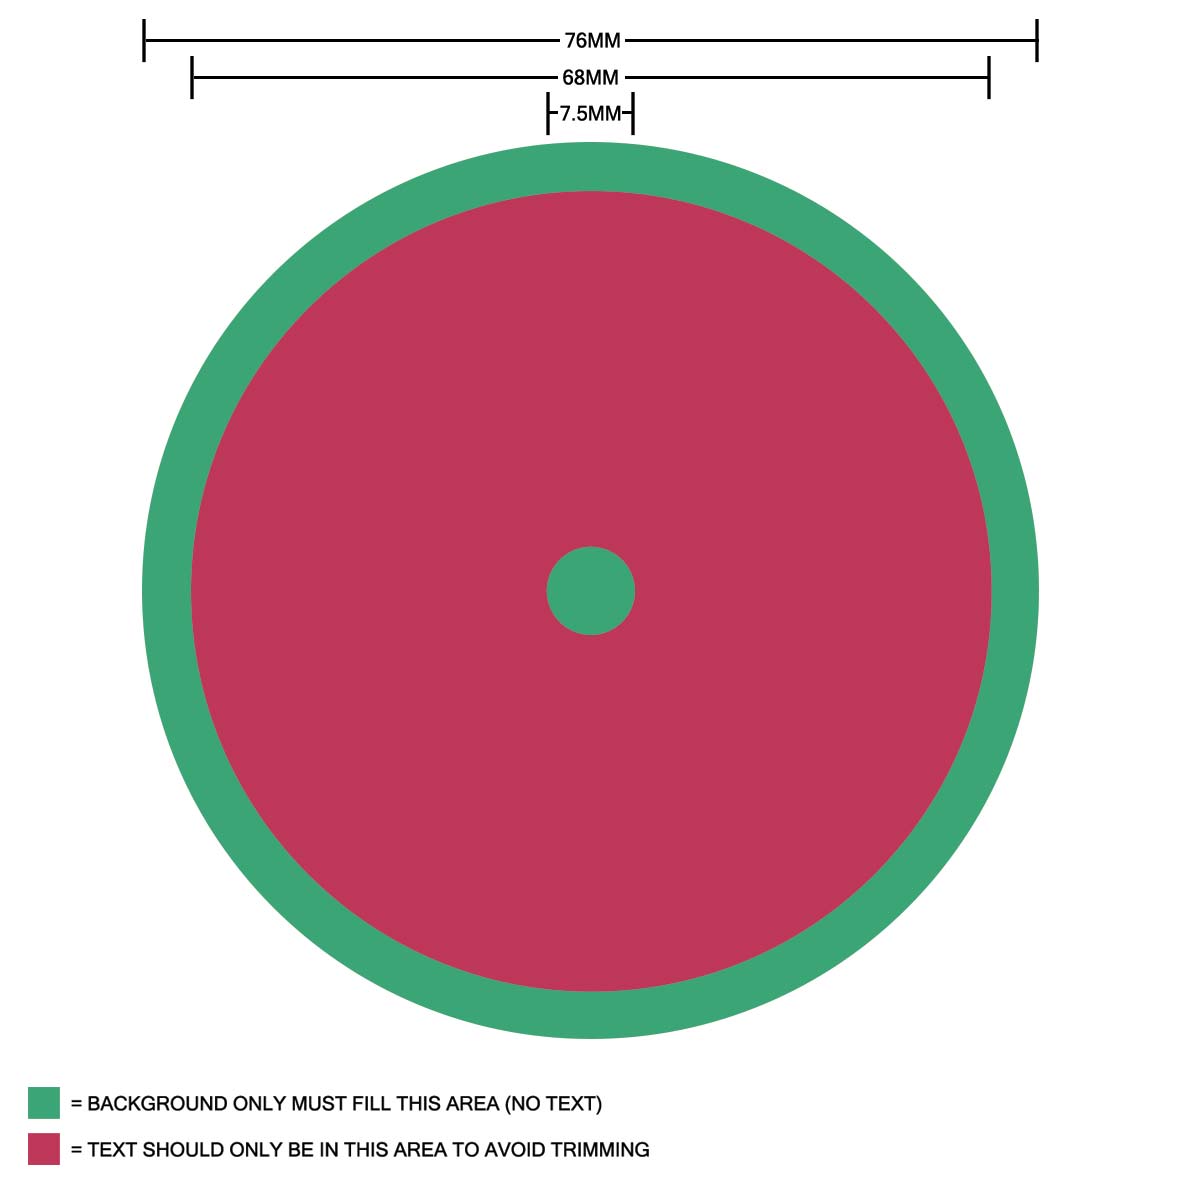
Outer edge: Keep all text at least 4 mm inside the outer edge of your design. This keeps your text clear of the cutting area and reduces the risk of it being cut off during production.
Centre hole: The centre hole occupies the inner 7.4 mm diameter of the label. To avoid text being too close to the hole, we recommend leaving at least 4mm of clear space around this area.
The image below provides a template to help you position your text correctly. All text must remain within the pink area. The green area is reserved for your background image, as explained in the previous section.
Please use this template as a guide when laying out your label to ensure your text remains clear of both the outer cutting area and the centre hole.
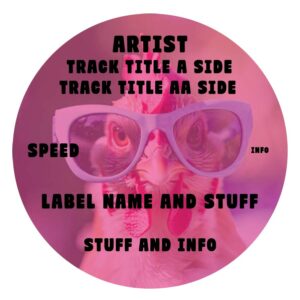
So using the above info we should have a design that looks like the following –
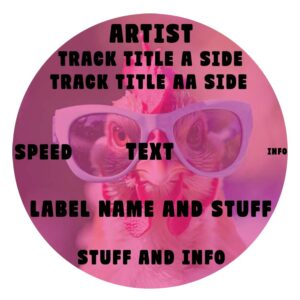
An example of what your label should not look like at this stage would be as follows:
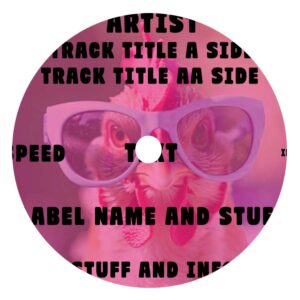
If we attempted to print the above image it would come out looking something like the one below which as you can see looks rubbish and has all the text cut off:
Hopefully, with the example images and instructions above, everything should now be fairly straightforward.
The most important thing to remember is that if you’re unsure about anything, please get in touch before submitting your artwork. You can contact us through our contact form or by email, and we’ll be happy to offer advice and help you get everything right.
Please don’t skip the guidelines and submit artwork that doesn’t meet the specifications. Incorrectly formatted designs will be rejected, and your order will be removed from the cutting queue until the artwork has been corrected. This can result in significant delays to your order.
If you’re in any doubt, just give us a shout. We’re always happy to help!